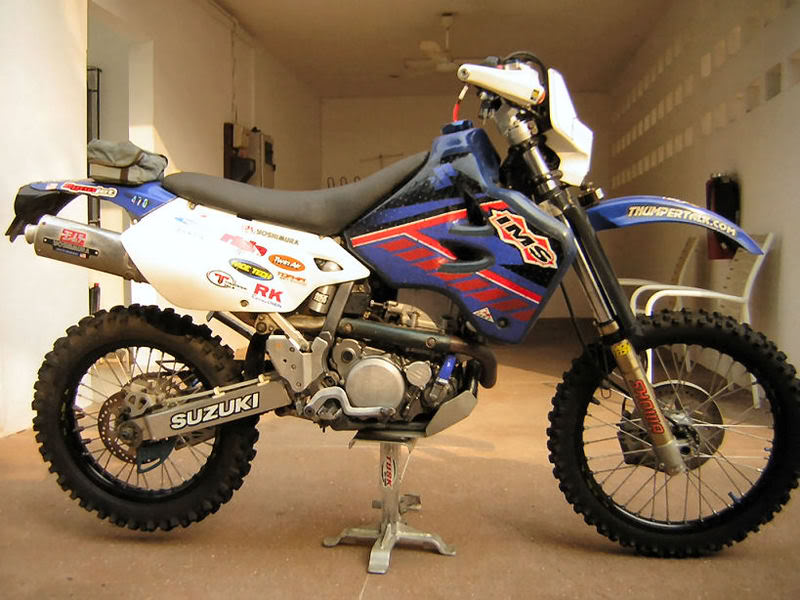
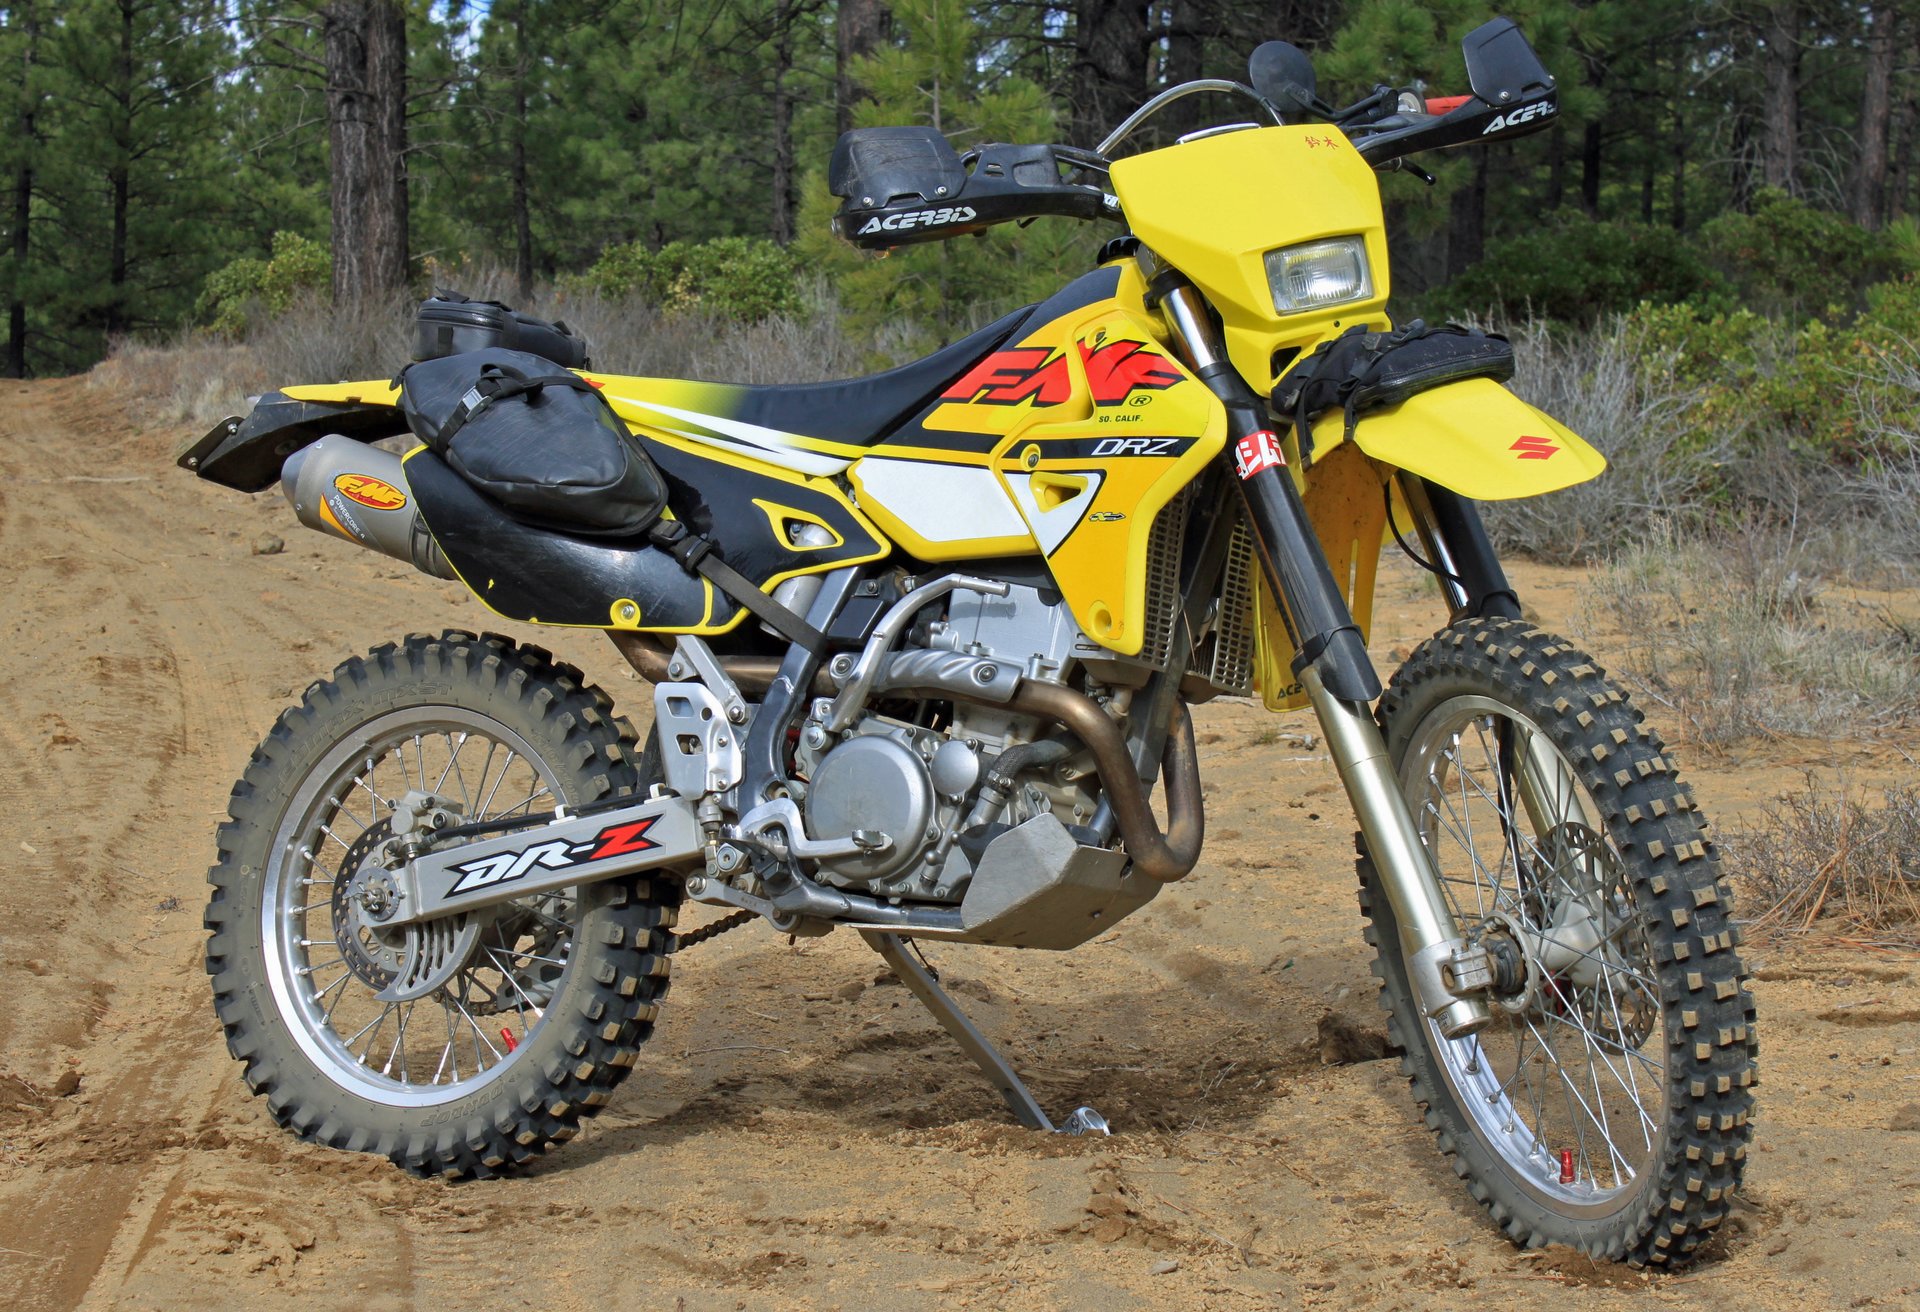
 If you own a DRZ400 and are looking to swap your conventional fork boots in favor of something a little more avant-garde, there’s not a lot of choices. Neoprene protectors such as Seal Savers or Dirt Skins are available in a Skittle colored palate and can work well to guard seals, but offer only minimal protection for the upper tube of the fork. As with conventional fork boots, there’s the added potential for dirt and debris to find its way inside these products and accumulate. I also have a double standard with the appearance of neoprene protectors – I think they look great on inverted forks but tend to accentuate just how anorexic conventional forks appear without boots.
However, there is another option. KTM designed fork protectors for select mid-90s models that readily adapt to the DRZ400. Easily installed with minimal modification (assuming you have the fine motor skills of a 1st grader and the IQ of a house cat), these protectors offer a different esthetic that will also allow easy access to the fork seals for inspection or cleaning.
Being that these are KTM parts, one would assume they cost the same as accessories made by Gucci, Versace, or Fendi and are only available for purchase through Nordstrom’s or Saks Fifth Avenue. But that’s not the case. And thanks to KTM, this cheap and easy upgrade is now even cheaper and easier.
If you own a DRZ400 and are looking to swap your conventional fork boots in favor of something a little more avant-garde, there’s not a lot of choices. Neoprene protectors such as Seal Savers or Dirt Skins are available in a Skittle colored palate and can work well to guard seals, but offer only minimal protection for the upper tube of the fork. As with conventional fork boots, there’s the added potential for dirt and debris to find its way inside these products and accumulate. I also have a double standard with the appearance of neoprene protectors – I think they look great on inverted forks but tend to accentuate just how anorexic conventional forks appear without boots.
However, there is another option. KTM designed fork protectors for select mid-90s models that readily adapt to the DRZ400. Easily installed with minimal modification (assuming you have the fine motor skills of a 1st grader and the IQ of a house cat), these protectors offer a different esthetic that will also allow easy access to the fork seals for inspection or cleaning.
Being that these are KTM parts, one would assume they cost the same as accessories made by Gucci, Versace, or Fendi and are only available for purchase through Nordstrom’s or Saks Fifth Avenue. But that’s not the case. And thanks to KTM, this cheap and easy upgrade is now even cheaper and easier.
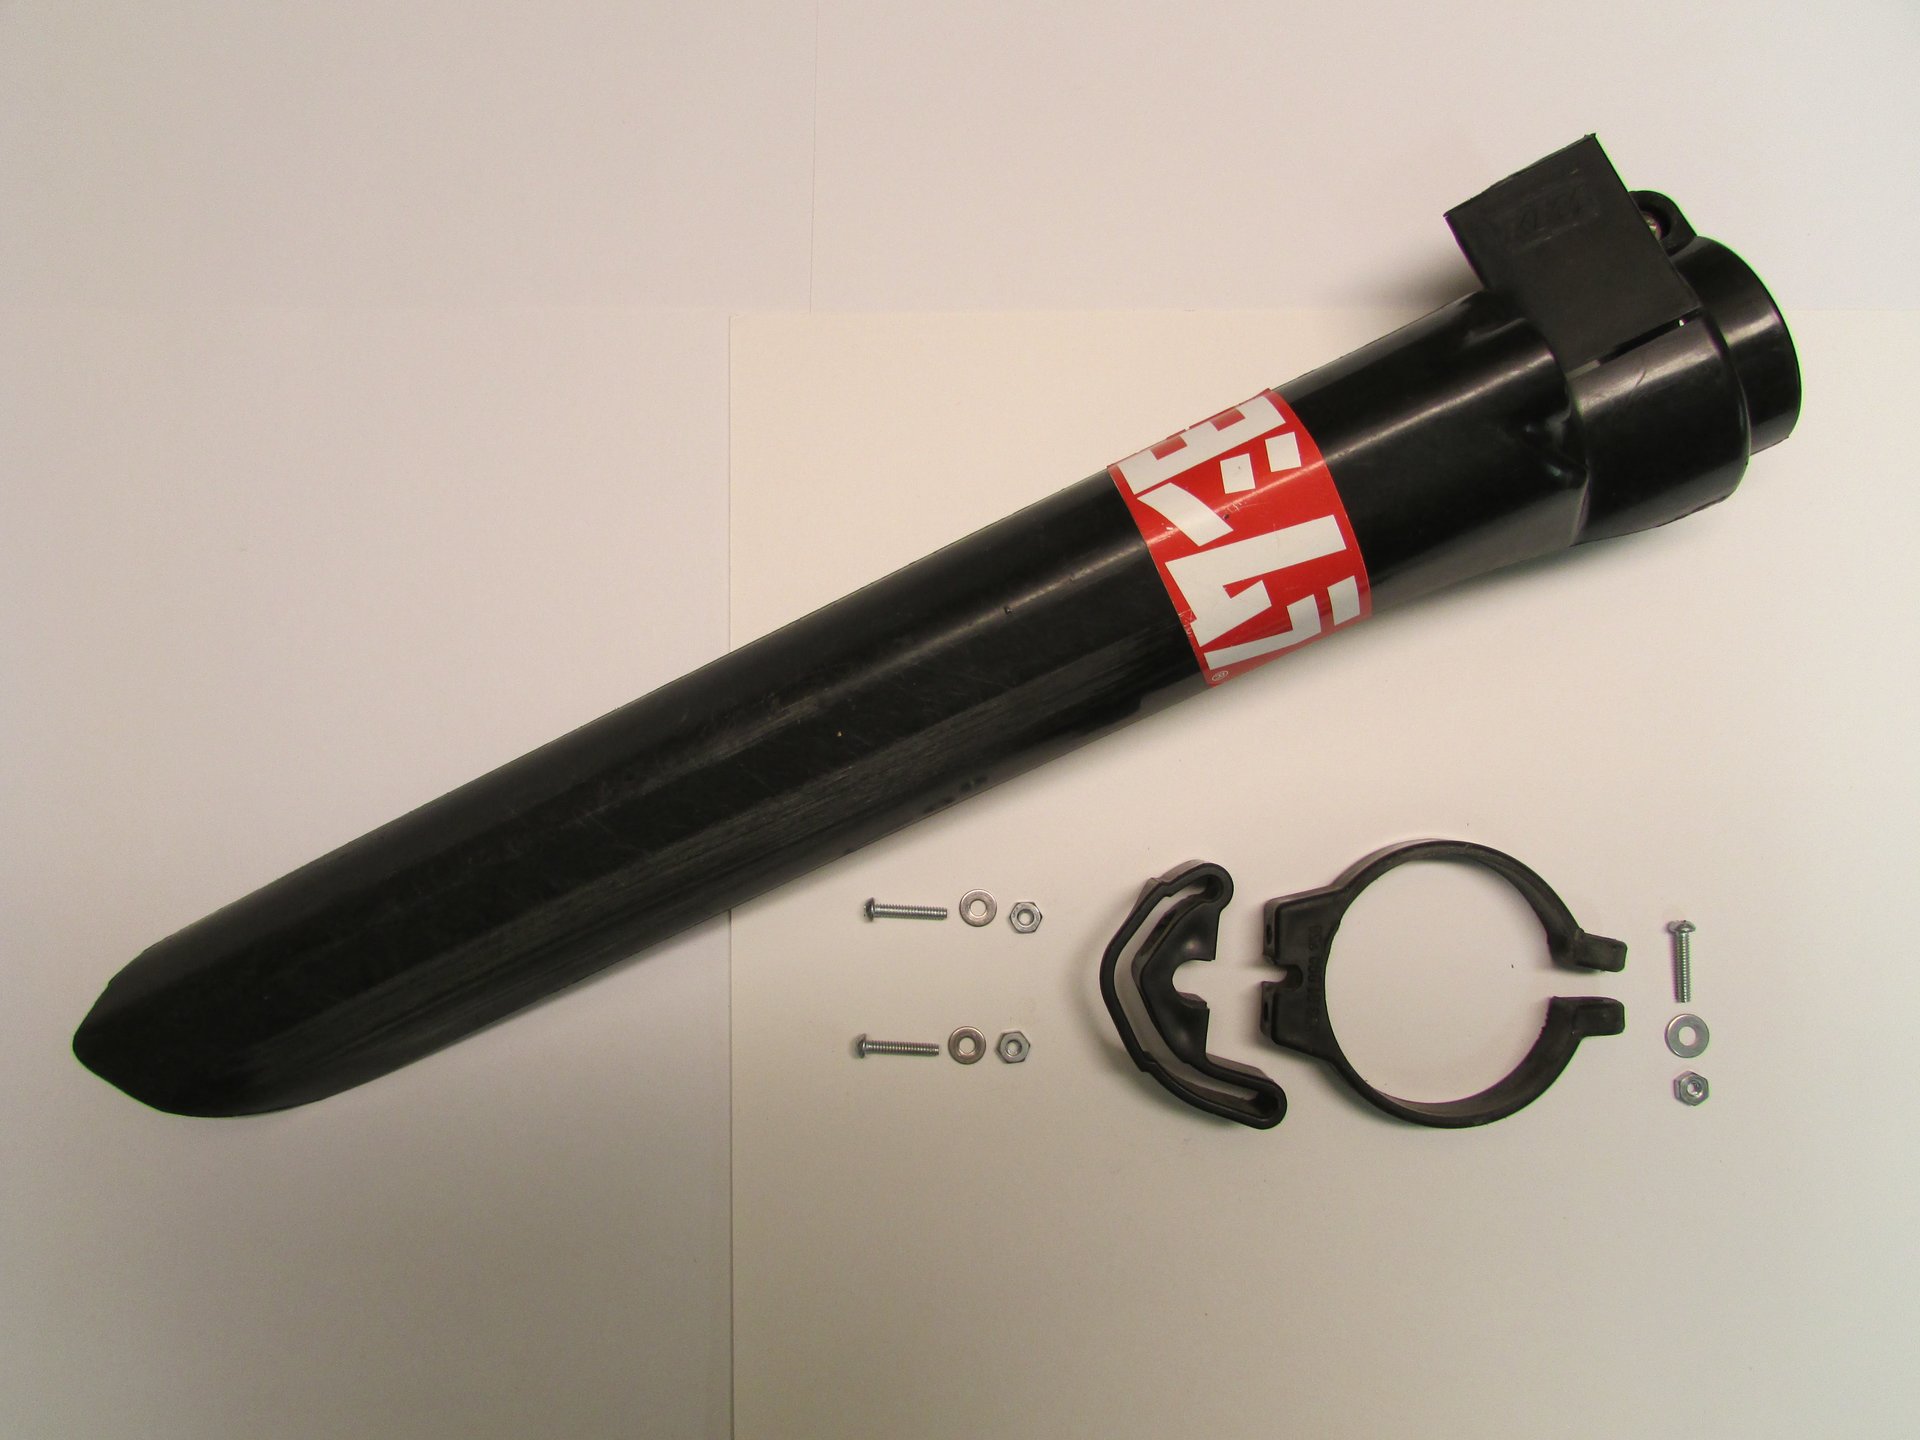
THE PROTECTOR GUIDE CLAMP (Lower right) IS NOW A DISCONTINUED PART
 After you’ve acquired all the necessary parts, the next step is to determine which end of the laziness spectrum you reside in. If you’re extremely lazy (like me) the existing fork boots are quickly and easily removed using side cutters and a razor blade. On the other hand, if you want to stretch this install from killing off a six-pack to the mass murder of a twelve-pack, begin the process of removing the front wheel and pulling the fork tubes out of the triple clamp. It helps to have an extra set of hands around for this method – someone has to deliver you beer from the fridge.
If you’ve chosen the indolent route (congratulations!) you may proceed directly to step two – removing the headlight assembly. This intricate procedure consists of unfastening two rubber straps and removing one machine screw located at the bottom center of the cowling, then disconnecting the wiring harness.
Next, hold each protector up to its corresponding fork to check for any routing conflicts between the fork protectors and the front brake line or a computer wire. On most DRZs (depending on existing modifications) the only interference is with the brake line and the left protector.
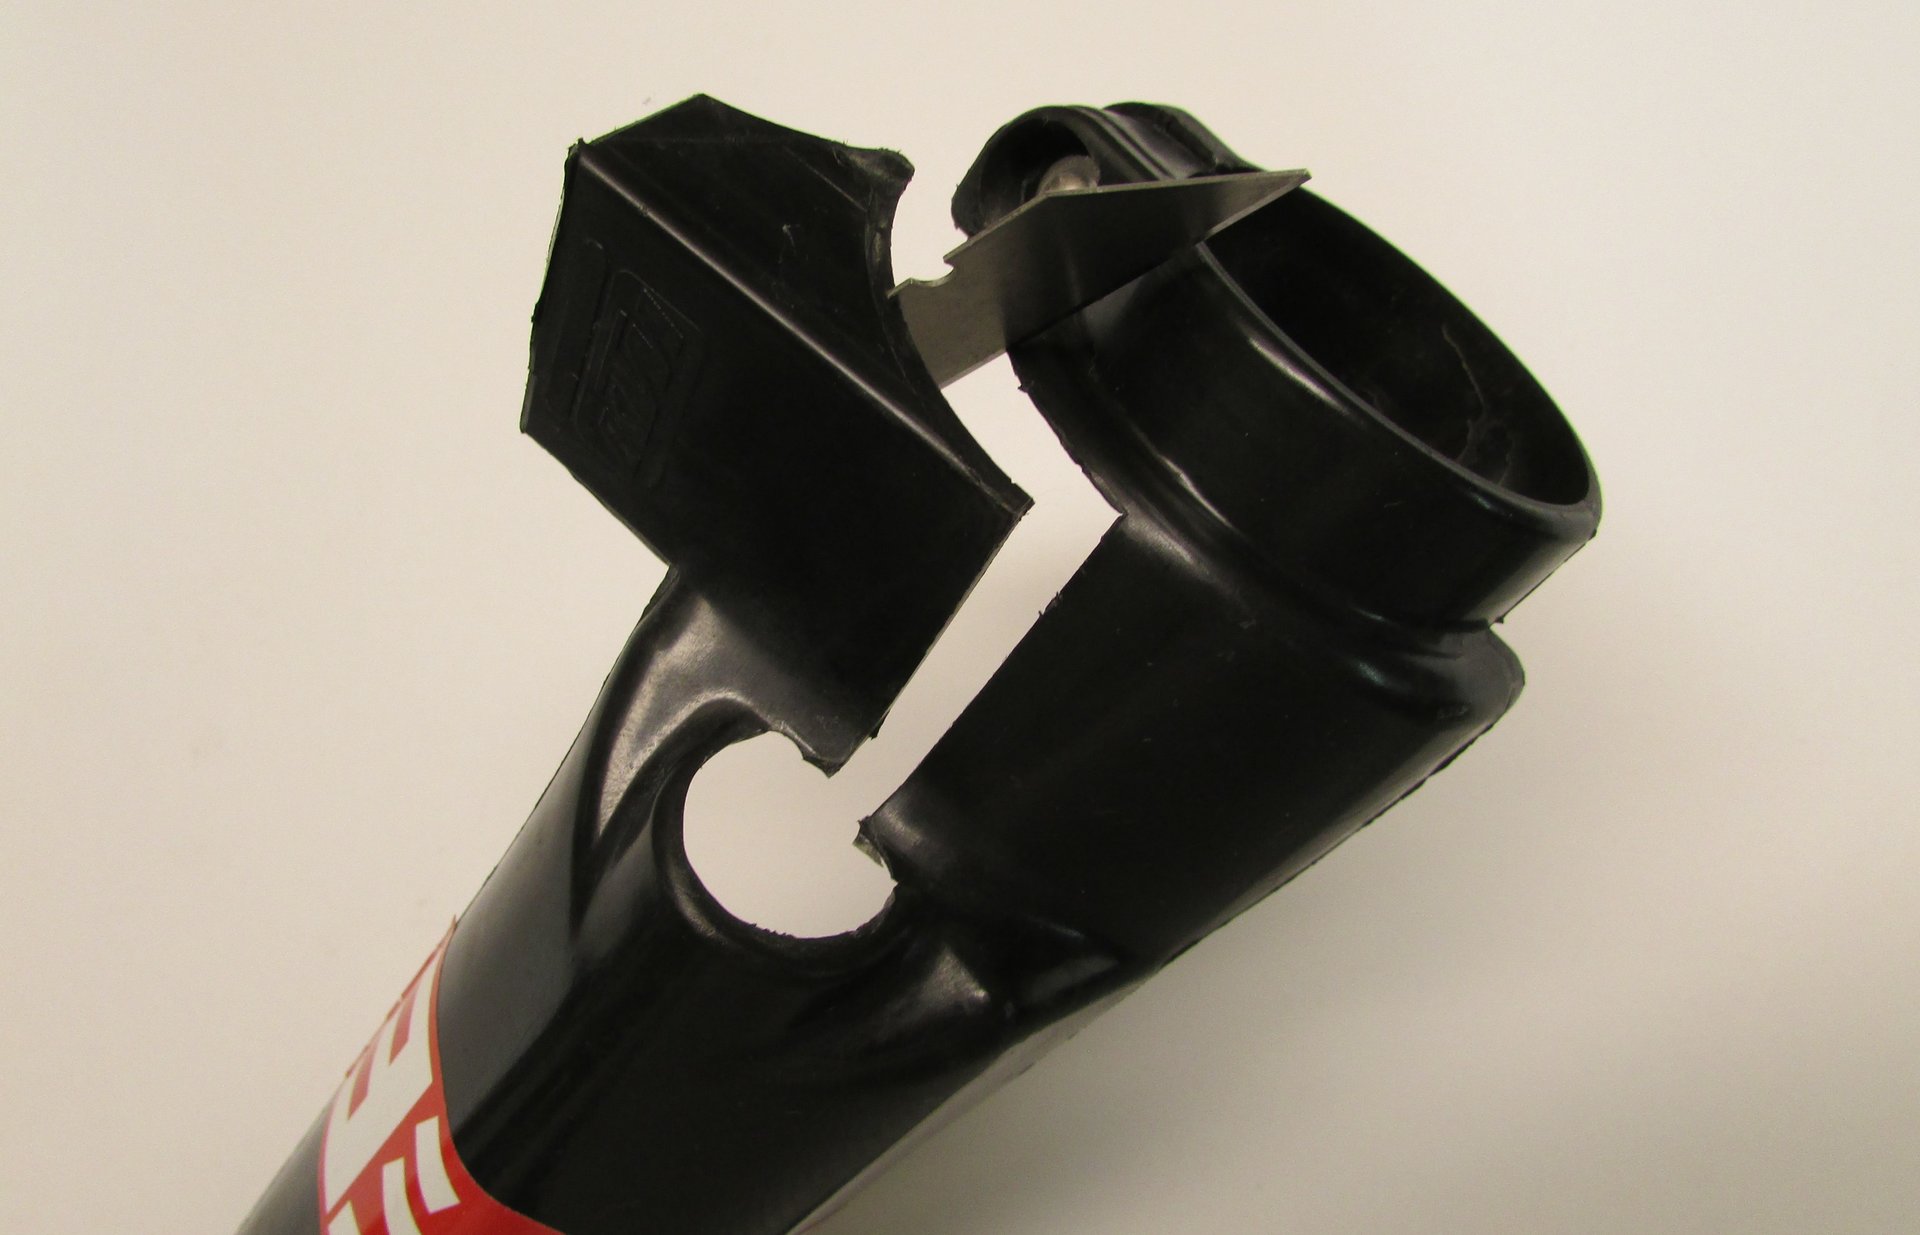
To alleviate this you must carefully cut or drill a hole in the protector where the brake line can pass through. If you’re unsure of your aptitude with razor blades for surgically precise cuts, I would recommend a few practice runs on an empty plastic container or feral cat (using domesticated felines dramatically increases divorce rates).
Then once again, it’s a matter of determining how lazy you are. Predictably, I took the easy way out by slicing into the protector from the inside to access the hole. After the headlight assembly is reinstalled this cut is hardly noticeable. If you are really looking to make a career out of this project, forego slicing an access cut in the protector and remove the brake line, feeding it through the hole. This method requires a bigger hole and bleeding the front brake. Before choosing this method I would strongly suggest going for more beer.
After you’ve acquired all the necessary parts, the next step is to determine which end of the laziness spectrum you reside in. If you’re extremely lazy (like me) the existing fork boots are quickly and easily removed using side cutters and a razor blade. On the other hand, if you want to stretch this install from killing off a six-pack to the mass murder of a twelve-pack, begin the process of removing the front wheel and pulling the fork tubes out of the triple clamp. It helps to have an extra set of hands around for this method – someone has to deliver you beer from the fridge.
If you’ve chosen the indolent route (congratulations!) you may proceed directly to step two – removing the headlight assembly. This intricate procedure consists of unfastening two rubber straps and removing one machine screw located at the bottom center of the cowling, then disconnecting the wiring harness.
Next, hold each protector up to its corresponding fork to check for any routing conflicts between the fork protectors and the front brake line or a computer wire. On most DRZs (depending on existing modifications) the only interference is with the brake line and the left protector.
To alleviate this you must carefully cut or drill a hole in the protector where the brake line can pass through. If you’re unsure of your aptitude with razor blades for surgically precise cuts, I would recommend a few practice runs on an empty plastic container or feral cat (using domesticated felines dramatically increases divorce rates).
Then once again, it’s a matter of determining how lazy you are. Predictably, I took the easy way out by slicing into the protector from the inside to access the hole. After the headlight assembly is reinstalled this cut is hardly noticeable. If you are really looking to make a career out of this project, forego slicing an access cut in the protector and remove the brake line, feeding it through the hole. This method requires a bigger hole and bleeding the front brake. Before choosing this method I would strongly suggest going for more beer.
 However you decide to route the brake line or computer wire its very important that the protector(s) don’t bind them when the forks compress. Bottoming out the front suspension can be hard enough on your bike, no need to gouge a line or snap a wire.
Next, install the protectors positioning them according to taste, provided that the bottom of the protector dips below the top of the lower fork tube where the seal is. Then use the machine screws and nuts to secure the protectors to the forks. If you’re concerned with possible slippage, double nut the screws and/or use medium strength Lock-tite on the threads. Finally, reattach the headlight assembly.
However you decide to route the brake line or computer wire its very important that the protector(s) don’t bind them when the forks compress. Bottoming out the front suspension can be hard enough on your bike, no need to gouge a line or snap a wire.
Next, install the protectors positioning them according to taste, provided that the bottom of the protector dips below the top of the lower fork tube where the seal is. Then use the machine screws and nuts to secure the protectors to the forks. If you’re concerned with possible slippage, double nut the screws and/or use medium strength Lock-tite on the threads. Finally, reattach the headlight assembly.
 You’re done! (Unless of course you’ve chosen the beer soaked version of this upgrade, in which case the final step would be to stumble into the front yard and pass out with your pants around your ankles)