I’ve long believed the ninth circle of hell is a lake of fire where the damned are forced to assemble cheap furniture for all eternity. Without instructions of course. If there were a tenth circle of hell, I suspect it would be where people are forced to apply motorcycle graphics for all eternity.
In the past, nothing has been more frustrating for me (in regards to bike maintenance) than applying new tank and shroud graphics. Trying to get them lined up over bolt holes and along edges, and then applied symmetrically without air bubbles has usually resulted in sweaty palms and an obscenity laced tirade echoing from the garage. But through persistence and several smashed radiator shrouds I’ve been able to master the art of applying graphics the wrong way. Eventually I learned there’s a right way – and it’s much, much easier.
 Before you can begin applying your Metal Mulisha or heart attack-inducing energy drink team graphics, first do a quick household scavenger hunt and collect the following items:
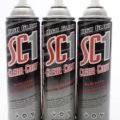
 Cleaner – Once your old graphics are off you need something to remove any dirt and/or old adhesive from the plastic. Look for a cleaner that won’t leave any residue.
One bottle of Windex – Can be substituted with a spray bottle containing some lukewarm soapy water.
One Hairdryer – Which can easily be pilfered from your girlfriend, wife, significant other, or ‘life partner’. No harm will come to the hairdryer, unlike my wife’s iron that I borrowed to wax my snowboard.
A Bondo Spreader, Spatula, or Soft Roller – You’ll need something to help smooth out the graphics and remove any air bubbles. A soft roller like the type used in block printing is preferable, but an old spatula or Bondo spreader can be substituted providing the plastic is supple enough to not damage the vinyl graphics.
Two Fish Tacos – You might be hungry afterwards.
One Large Margarita – You might be thirsty too.
STEP ONE Think about what you’re working with and where you’re going to do it – you need a CLEAN work space. Attempting to do this in a gravel driveway or dog grooming parlor is asking for trouble. If you accidentally drop the graphics without the paper backing odds are it will land jelly side down. Take the time to clean any dirt or debris away from your work area.
STEP TWO Remove the old graphics. If they’re pre Civil War and breaking off in tiny pieces, try warming them up with the hairdryer. Once the old graphics are off, use the cleaner and a rag to make sure the area is free of old adhesive, dirt, and dog hair. Any raised gouges or teeth marks in the plastic should be trimmed down flush with a sharp blade.
STEP THREE Working with one piece at a time, remove the paper backing from the graphic and spray the adhesive side LIGHTY with Windex. This allows the vinyl graphic to be easily positioned on the plastic. Use the hairdryer on lowest setting to heat areas that need to be bent over or around curves. Use caution with this, overzealous use of the hairdryer can cause the vinyl to stretch or distort and can also cause the adhesive underneath to soften too much and push out the edges or congeal in areas, forming bumps.
Cleaner – Once your old graphics are off you need something to remove any dirt and/or old adhesive from the plastic. Look for a cleaner that won’t leave any residue.
One bottle of Windex – Can be substituted with a spray bottle containing some lukewarm soapy water.
One Hairdryer – Which can easily be pilfered from your girlfriend, wife, significant other, or ‘life partner’. No harm will come to the hairdryer, unlike my wife’s iron that I borrowed to wax my snowboard.
A Bondo Spreader, Spatula, or Soft Roller – You’ll need something to help smooth out the graphics and remove any air bubbles. A soft roller like the type used in block printing is preferable, but an old spatula or Bondo spreader can be substituted providing the plastic is supple enough to not damage the vinyl graphics.
Two Fish Tacos – You might be hungry afterwards.
One Large Margarita – You might be thirsty too.
STEP ONE Think about what you’re working with and where you’re going to do it – you need a CLEAN work space. Attempting to do this in a gravel driveway or dog grooming parlor is asking for trouble. If you accidentally drop the graphics without the paper backing odds are it will land jelly side down. Take the time to clean any dirt or debris away from your work area.
STEP TWO Remove the old graphics. If they’re pre Civil War and breaking off in tiny pieces, try warming them up with the hairdryer. Once the old graphics are off, use the cleaner and a rag to make sure the area is free of old adhesive, dirt, and dog hair. Any raised gouges or teeth marks in the plastic should be trimmed down flush with a sharp blade.
STEP THREE Working with one piece at a time, remove the paper backing from the graphic and spray the adhesive side LIGHTY with Windex. This allows the vinyl graphic to be easily positioned on the plastic. Use the hairdryer on lowest setting to heat areas that need to be bent over or around curves. Use caution with this, overzealous use of the hairdryer can cause the vinyl to stretch or distort and can also cause the adhesive underneath to soften too much and push out the edges or congeal in areas, forming bumps.
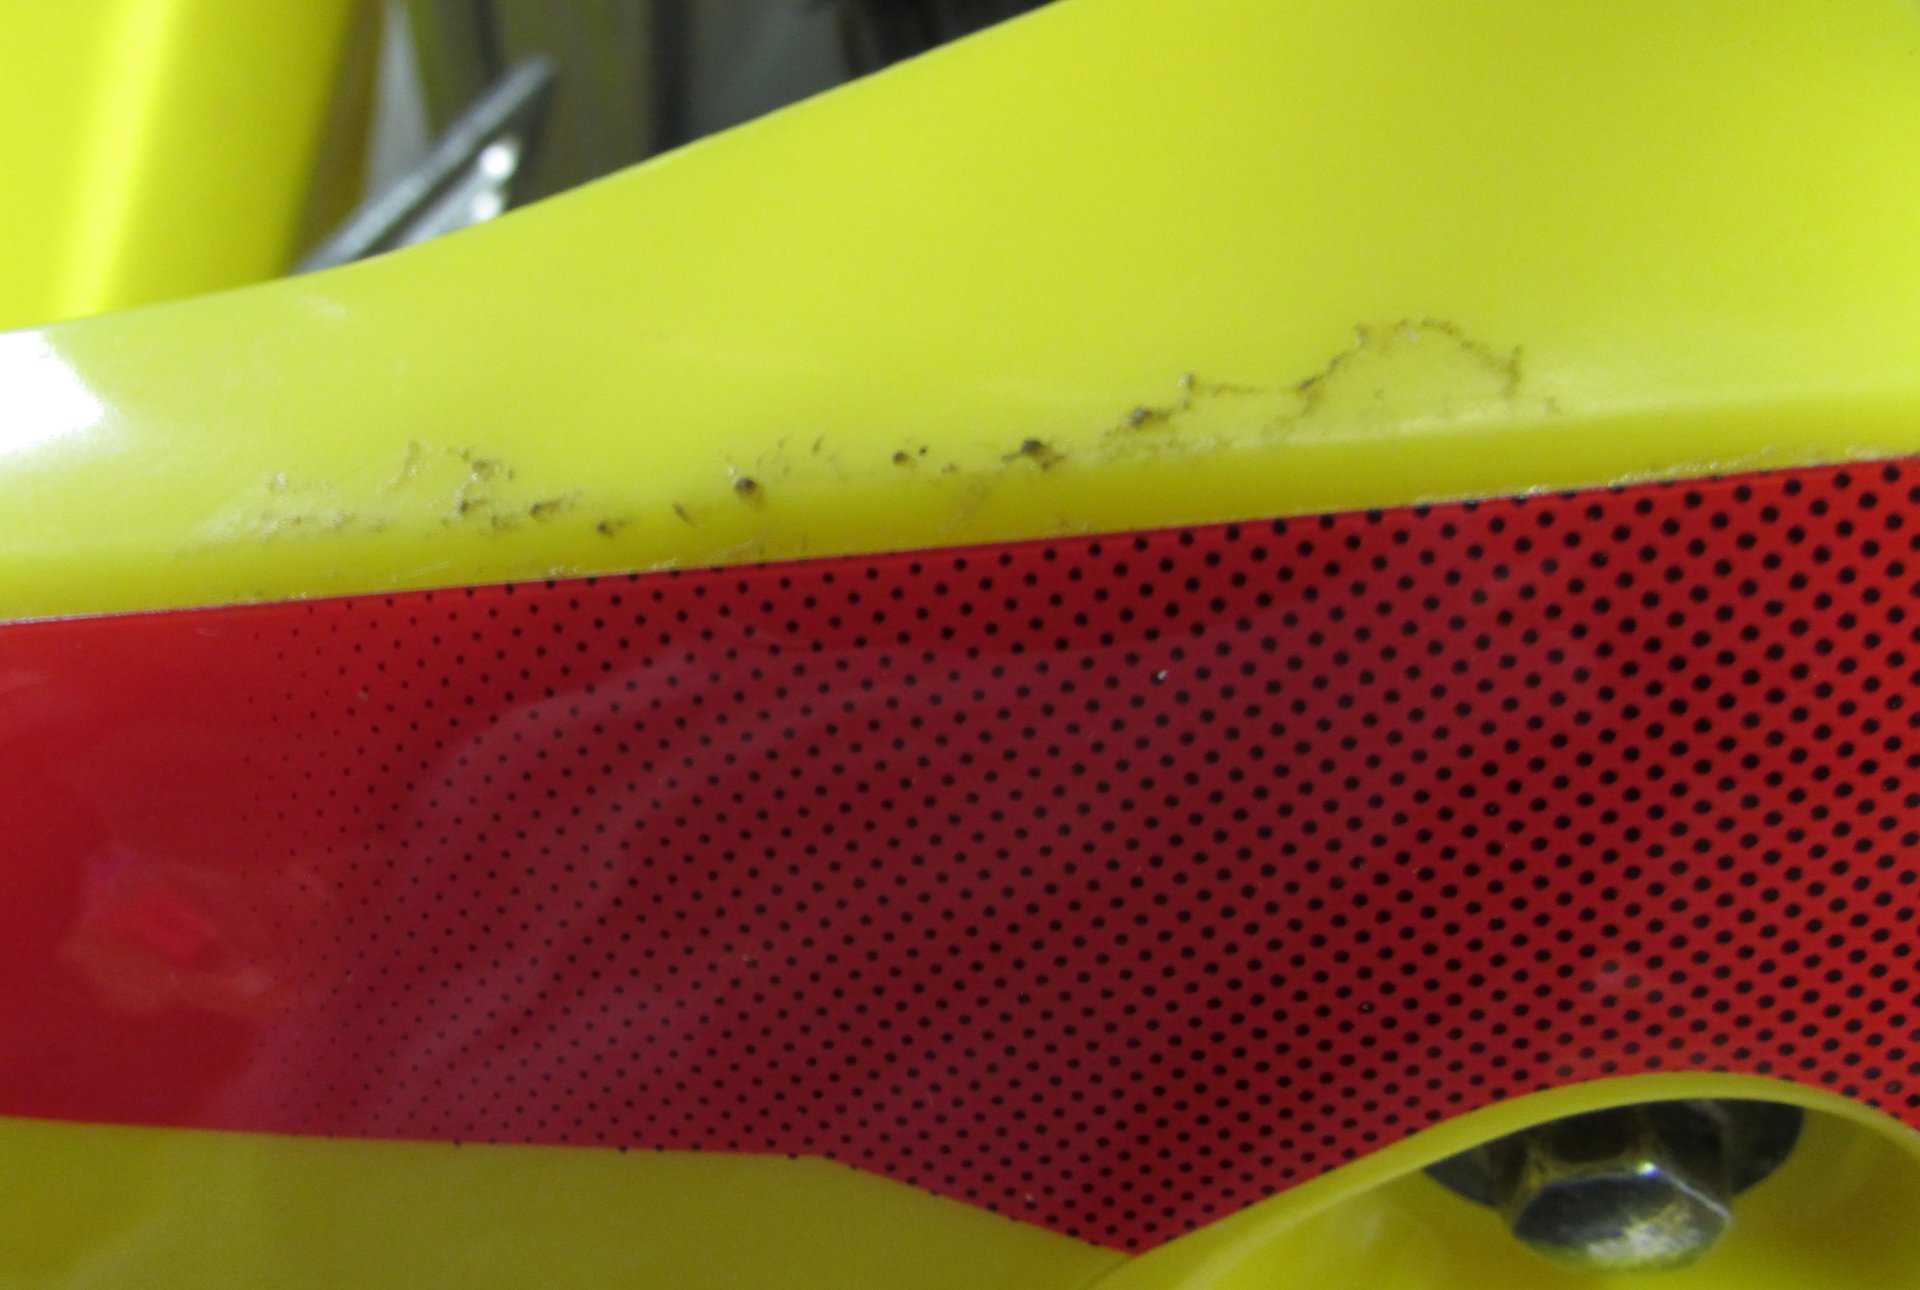 STEP FOUR Check for air bubbles. Use whatever tool you’ve come up with to push any air bubbles out the side. If you miss some after the Windex has dried and the adhesive has set, warm the area slightly with the hairdryer and use a pin or the tip of a razor blade to create a tiny hole in the bubble, then push the air out.
STEP FIVE Admire your work! Until the Windex dries, your bike isn’t going anywhere. You may have to wait up to 24 hours for this to happen, so don’t expect to put on new graphics right before you ride.
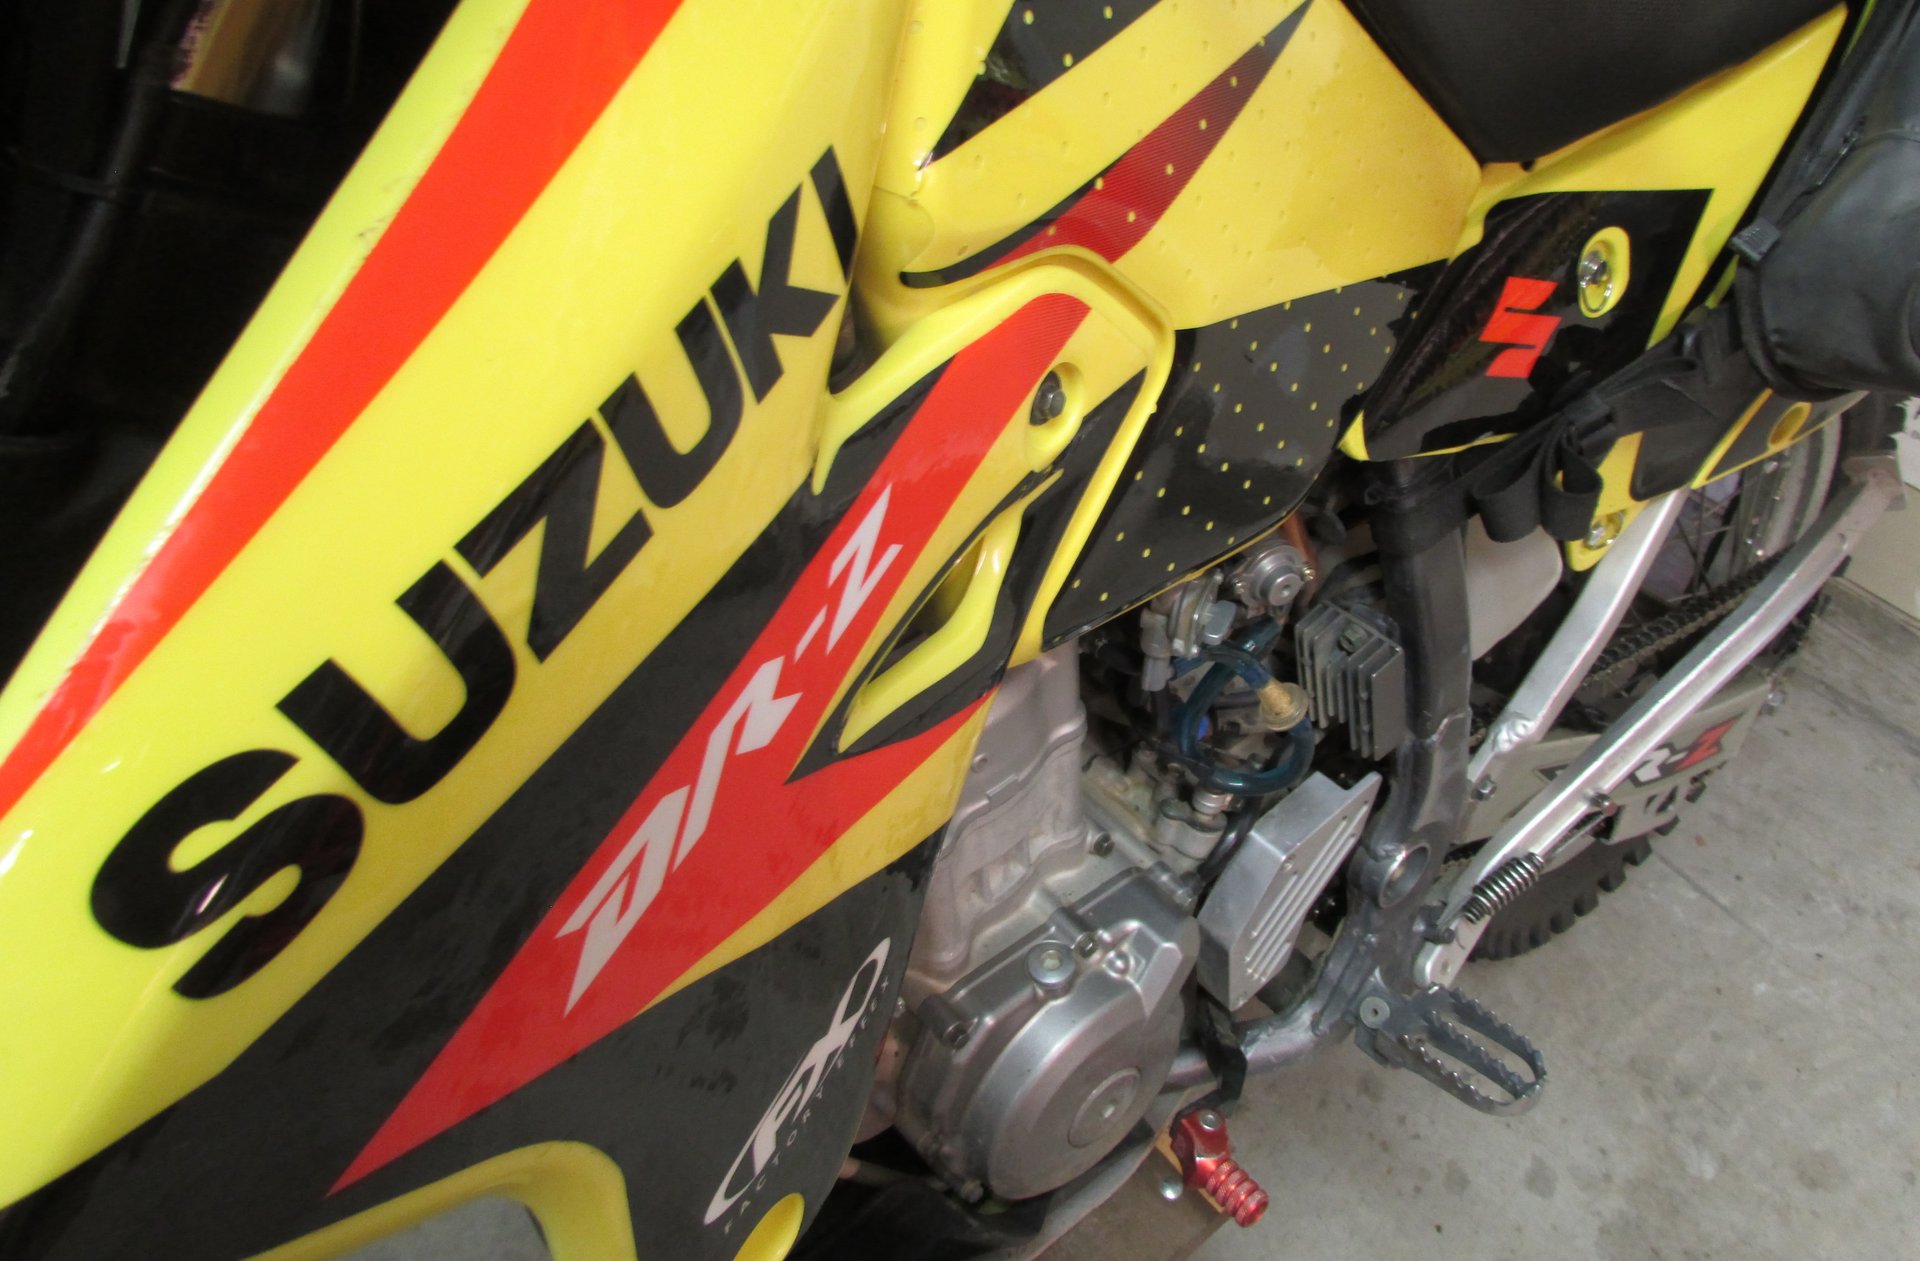
One thing I’ve noticed about aftermarket graphics is that they don’t quite line up perfectly. Striving for perfection when lining up the graphics on the tank with the shroud graphics while trying to align the bolt holes has taught me the limitations of my type A personality. Sometimes good enough is, in fact, good enough.
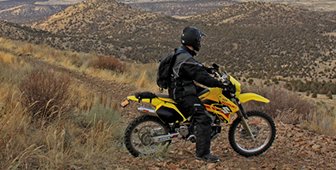
For those of us that can’t afford a new bike, graphics are an economical way to give your Dual Sport a new look. Besides their esthetic value, their thick vinyl can also provide some protection for your plastic – or at least help hold all the pieces together after you’ve crashed into a tree.
STEP FOUR Check for air bubbles. Use whatever tool you’ve come up with to push any air bubbles out the side. If you miss some after the Windex has dried and the adhesive has set, warm the area slightly with the hairdryer and use a pin or the tip of a razor blade to create a tiny hole in the bubble, then push the air out.
STEP FIVE Admire your work! Until the Windex dries, your bike isn’t going anywhere. You may have to wait up to 24 hours for this to happen, so don’t expect to put on new graphics right before you ride.
One thing I’ve noticed about aftermarket graphics is that they don’t quite line up perfectly. Striving for perfection when lining up the graphics on the tank with the shroud graphics while trying to align the bolt holes has taught me the limitations of my type A personality. Sometimes good enough is, in fact, good enough.
For those of us that can’t afford a new bike, graphics are an economical way to give your Dual Sport a new look. Besides their esthetic value, their thick vinyl can also provide some protection for your plastic – or at least help hold all the pieces together after you’ve crashed into a tree.